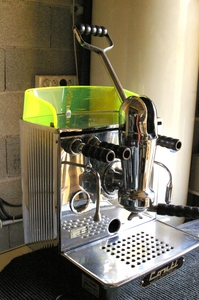
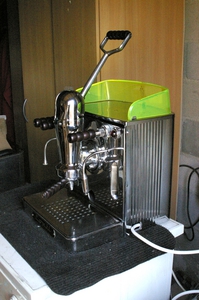
First contact with a mythical machine:
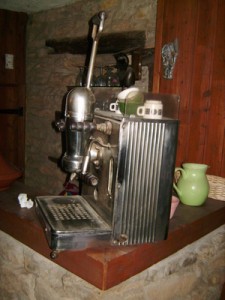
That was a little over a year, an ad entitled “sale old coffee tin” arouses my curiosity, I send a mail to the seller for a photo and this is what I get. the machine comes home in two parcels, and in a state that puzzles me.
It was packed with a simple box and crossed France like that, unpacking was easy course, but also particularly scary.
State of play:
First removal, the machine is very dirty but looks pretty healthy. It has no pre-equipment for use in electric, so I’ll have to change it because I do not want it to work with its original gas heater.
Refurbishment of the chassis:
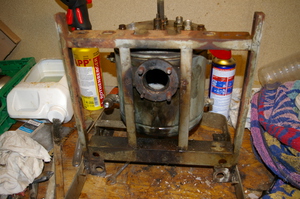
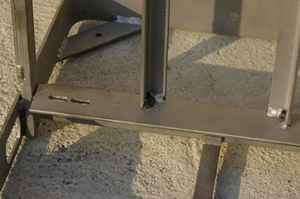
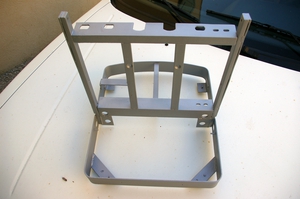
I attack the chassis. It will be completely blasted, after degreasing I cover it with 3 coats of cold galvanizing.
The painting, consisting of 95% zinc is an excellent anti-rust, is a satin finish, clean it very well in future revisions.
Reassembly :
Each piece is de-scaled and cleaned, then rise gradually as the chassis.
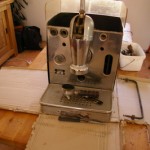
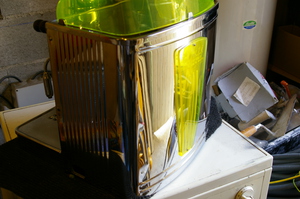
I will use the facade of a second machine bought very incomplete, but with parts such as valves and the group in better condition than the first. In addition to, this one was electric, and has the beautiful light that gives a look so nice at the Empress.
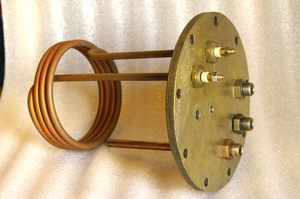
Establishment of a new strength and
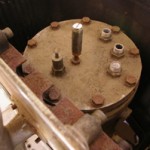
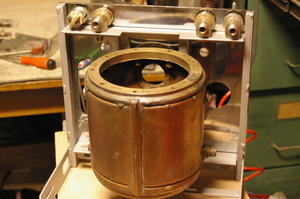
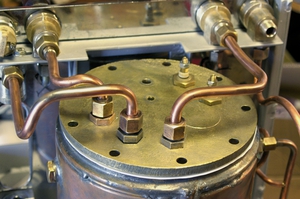
first mounting flange Boiler
The gasket is cut from a sheet of Teflon 1 mm thick.
Reassembly of the group:
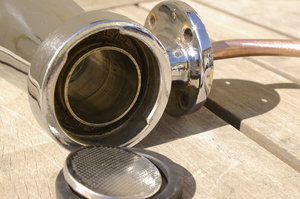
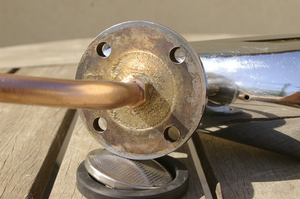
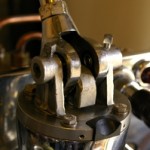
Start of group reassembly, cleaning and polishing chrome. Cleaning and light resurfacing of the jacket, and the hardest to do … cleaning the bottom of the group.
To catch the coffee oils cooked at the bottom of the gorge, the seal of the filter holder and bayonet, throat where the shower clips … I still have sore fingers.
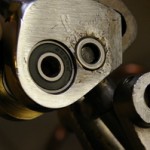
I have to buy two small bearings of the articulation of the lever and I can back up the group. I also ordered today the A4 stainless steel screws, I’ll soon be able to just go for good.
I finally got the bearings I ordered the two cup needle were not easy to find.
Group reassembled, after a good cleaning I used grease for the food industry.
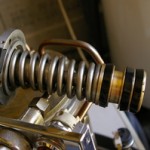
After cleaning the spring I place with a light film of grease to insulate it from moisture, even if it is stainless steel.
The new lip seals are smear a layer of silicone grease and placed on the piston.
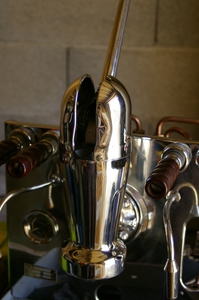
Here is the group finally finished, it starts to really look good.
The boiler :
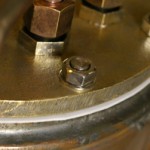
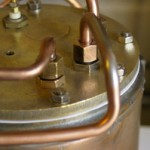
The studs of the boilers are placed. They were done in threaded rod M8 stainless steel A4, nuts and washers are also in this area which guarantee the machine to be disassembled for maintenance for many years without any problems.
The seal chamber was cut in some Teflon sheet 1 mm thick. I noticed repairing another machine with thicker Teflon, it was more difficult to get a good seal.
We must shake very hard and many times before the brass does its footprint in the joint. On these old machines I prefer not to seek more trouble that it may already have, with a thickness of 1mm I hope to have a sealed mounting for a brake application.
Electric wiring :
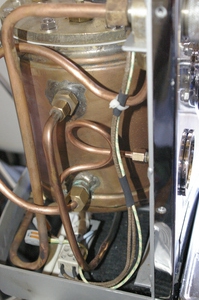
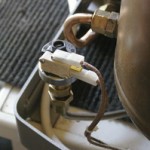
It is time to plug the heater.
High temperature coated wire, connect the pressure-stat.
Reassembly of the machine :
My test with 1 mm Teflon gasket has not been successful, I doubled another of the same thickness and that way, the seal was very easy to obtain.

